Set up the authentication
Your journey as a Catena-X customer starts similarly as described in the Getting started: with requesting access to the Digital Twin Registry service.
In this section, we assume that you already have a contract for a longer subscription to Bosch Semantic Stack services, and thus have already passed the steps for creating a SingleKey ID, and for retrieving the specific ID for your tenant.
However, when it comes to creating a client and secret for an Eclipse Dataspace Connector (EDC), we encourage you to follow the steps described in the following sections, because the connector requires specific roles which need to be part of the OAuth token.
EDC is the abbreviation for the Eclipse Dataspace Connector. The setup of the EDC itself is out of scope of the Bosch Semantic Stack offering. See Catena-X standard CX-0002 Digital Twins for corresponding requirements for data providers. For further hints and best practices how EDC and Digital Twin Registry are interrelated please have a look at the Digital Twin KIT of Tractus-X, the open source project associated with Catena-X.
Login to the access management service
To manage your tenant, please log in at:
https://portal.bosch-nexeed.com?tenant=<your-tenant-id>
The default UI includes some configurations for the Nexeed Industrial Application system.
In the context of Bosch Semantic Stack, do not worry about the Dashboards tab.
The only relevant section for you is the Access Management tab.
Create a module for EDC
Navigate to Modules.
This is the place where you can register your own application or solution as a module.
For example, we will make some REST-like requests from a Postman collection to save you time when trying out the APIs.
Such requests can either use Basic Auth with your username and password, or authenticate as a client – and thus will need the registration as a module.
Now we will set up one client with credentials and secret that will be used by your Postman:
-
Click the blue + icon to get access to the 'Add a module' dialog.
-
Details – set all required fields, amongst which you can set the secret
The client ID is generated automatically and will be displayed at the end of this dialog.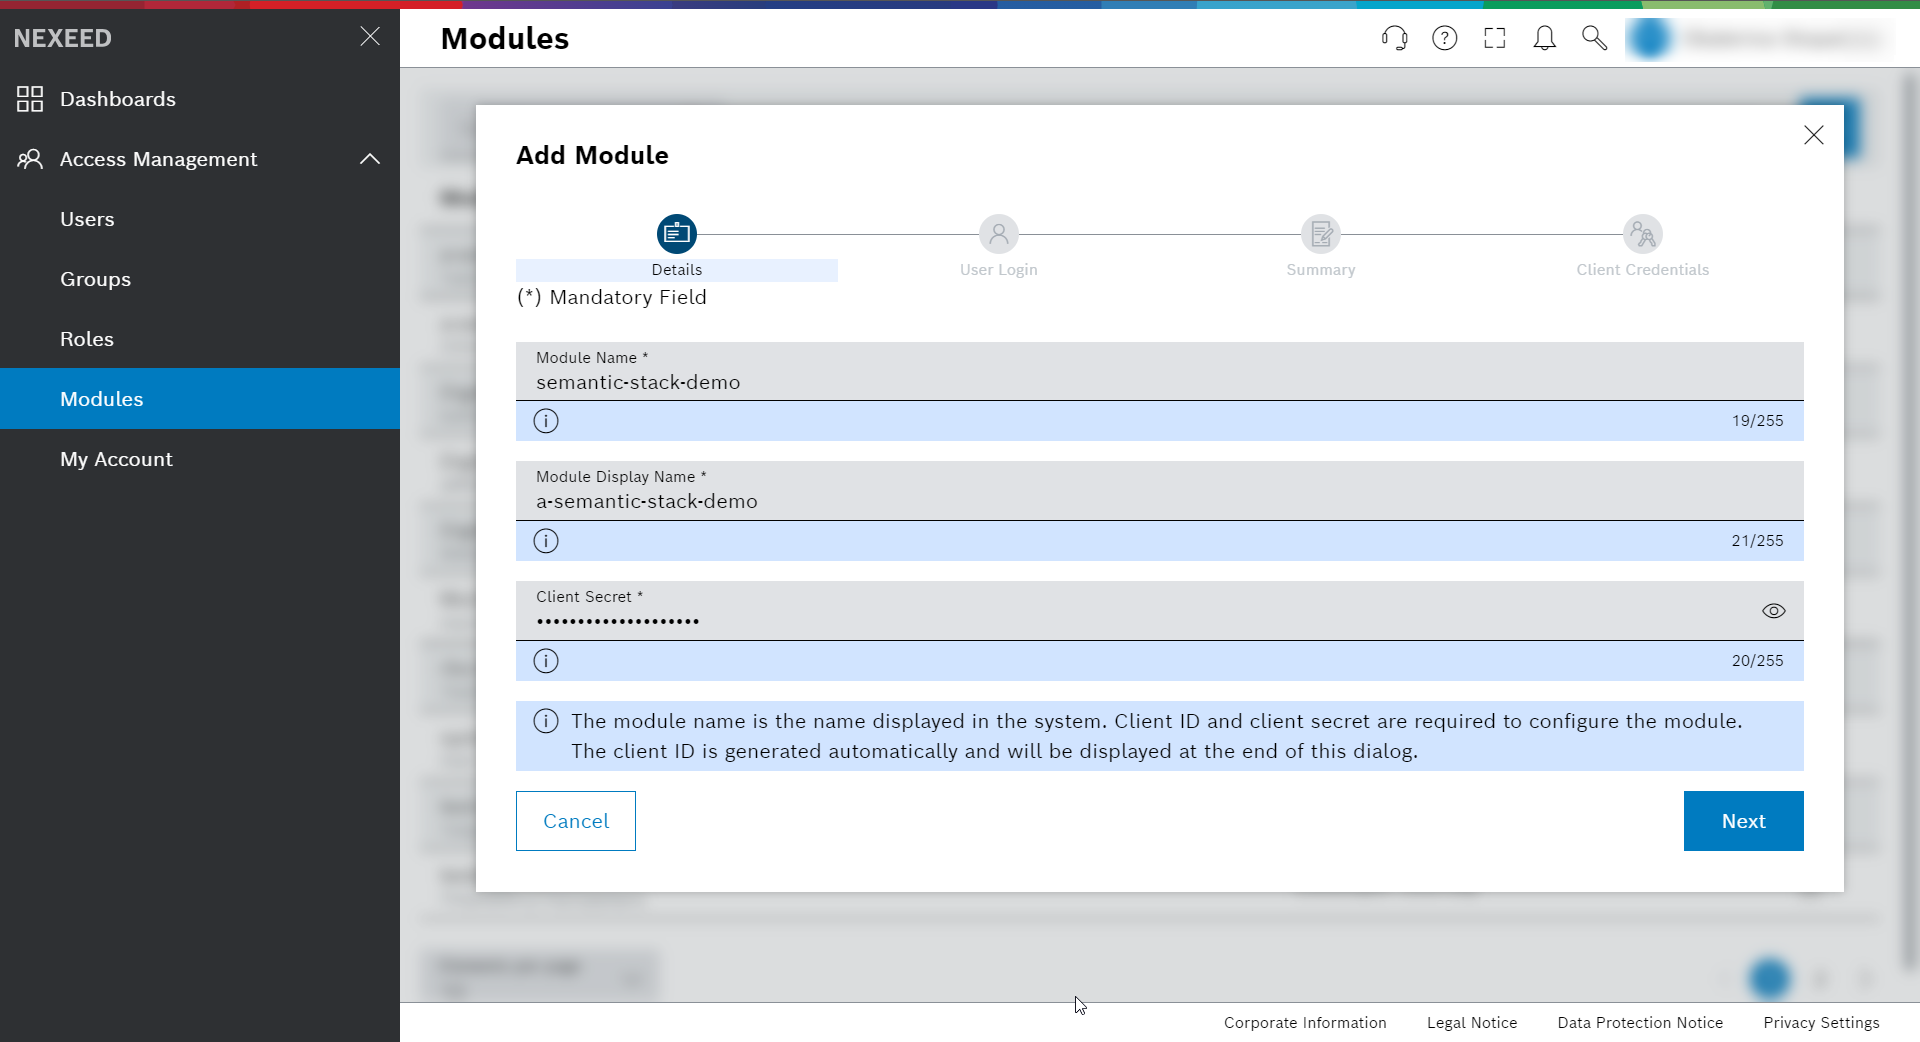
-
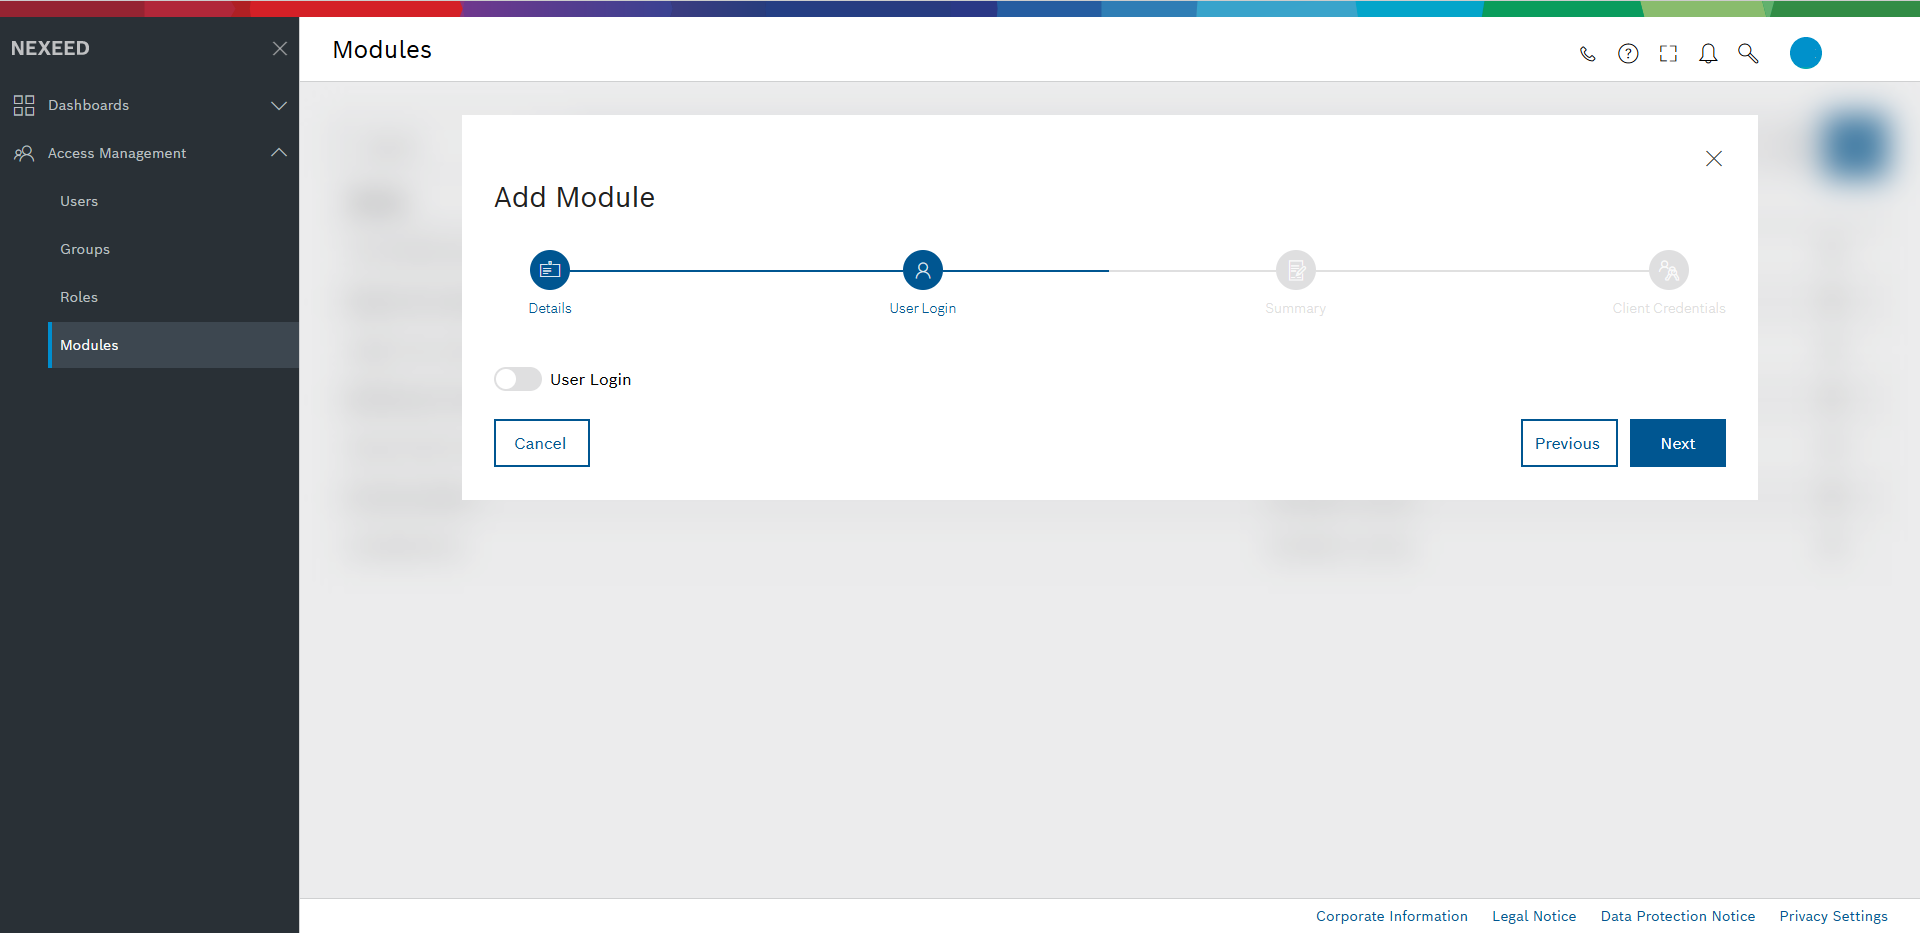
User login – for now we disable it. This also disables all other options on this dialog part.
-
Summary – displays the setting and gives you the possibility to go back to potentially change the entries.
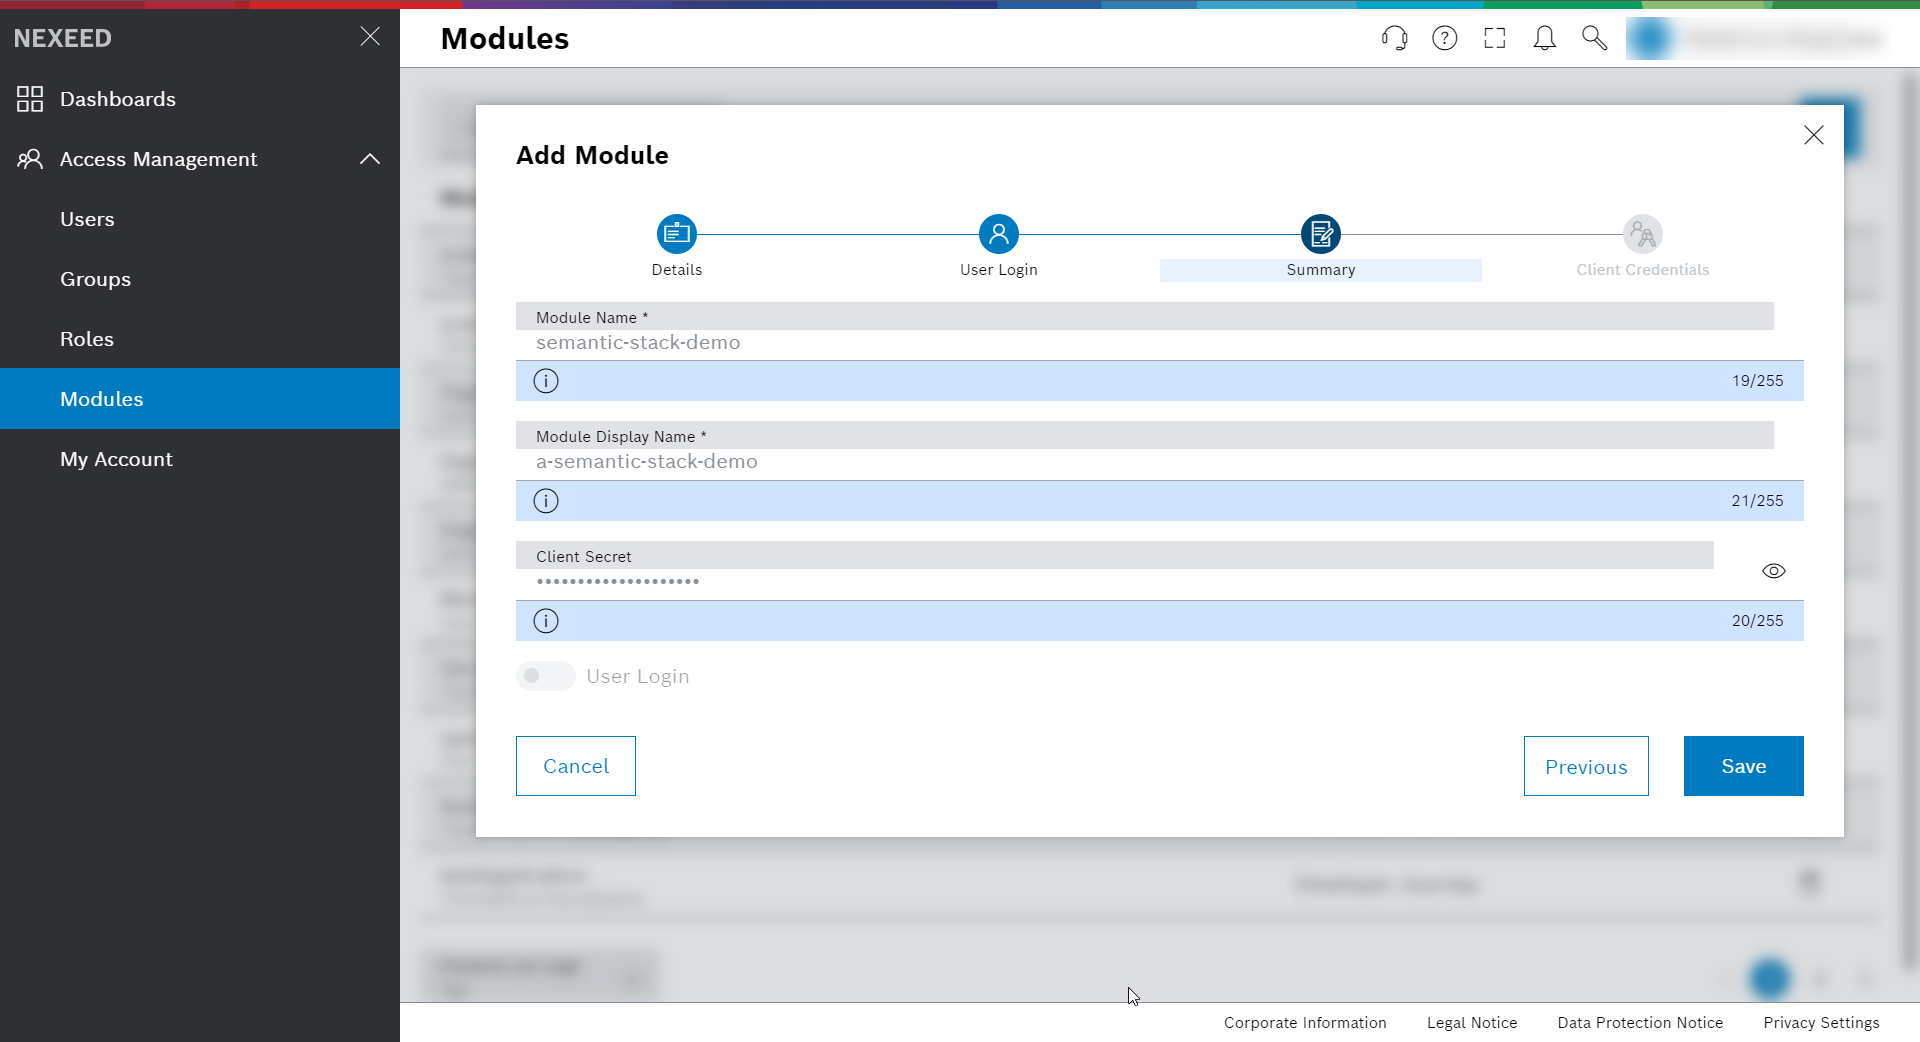
Continue with Save.
-
Client Credentials – copy the Client ID and Client Secret to your key storage application and handle with care. The secret will never be visible again. In fact, you will need to safely pass them to the EDC.
-
Click Close to save and finish.
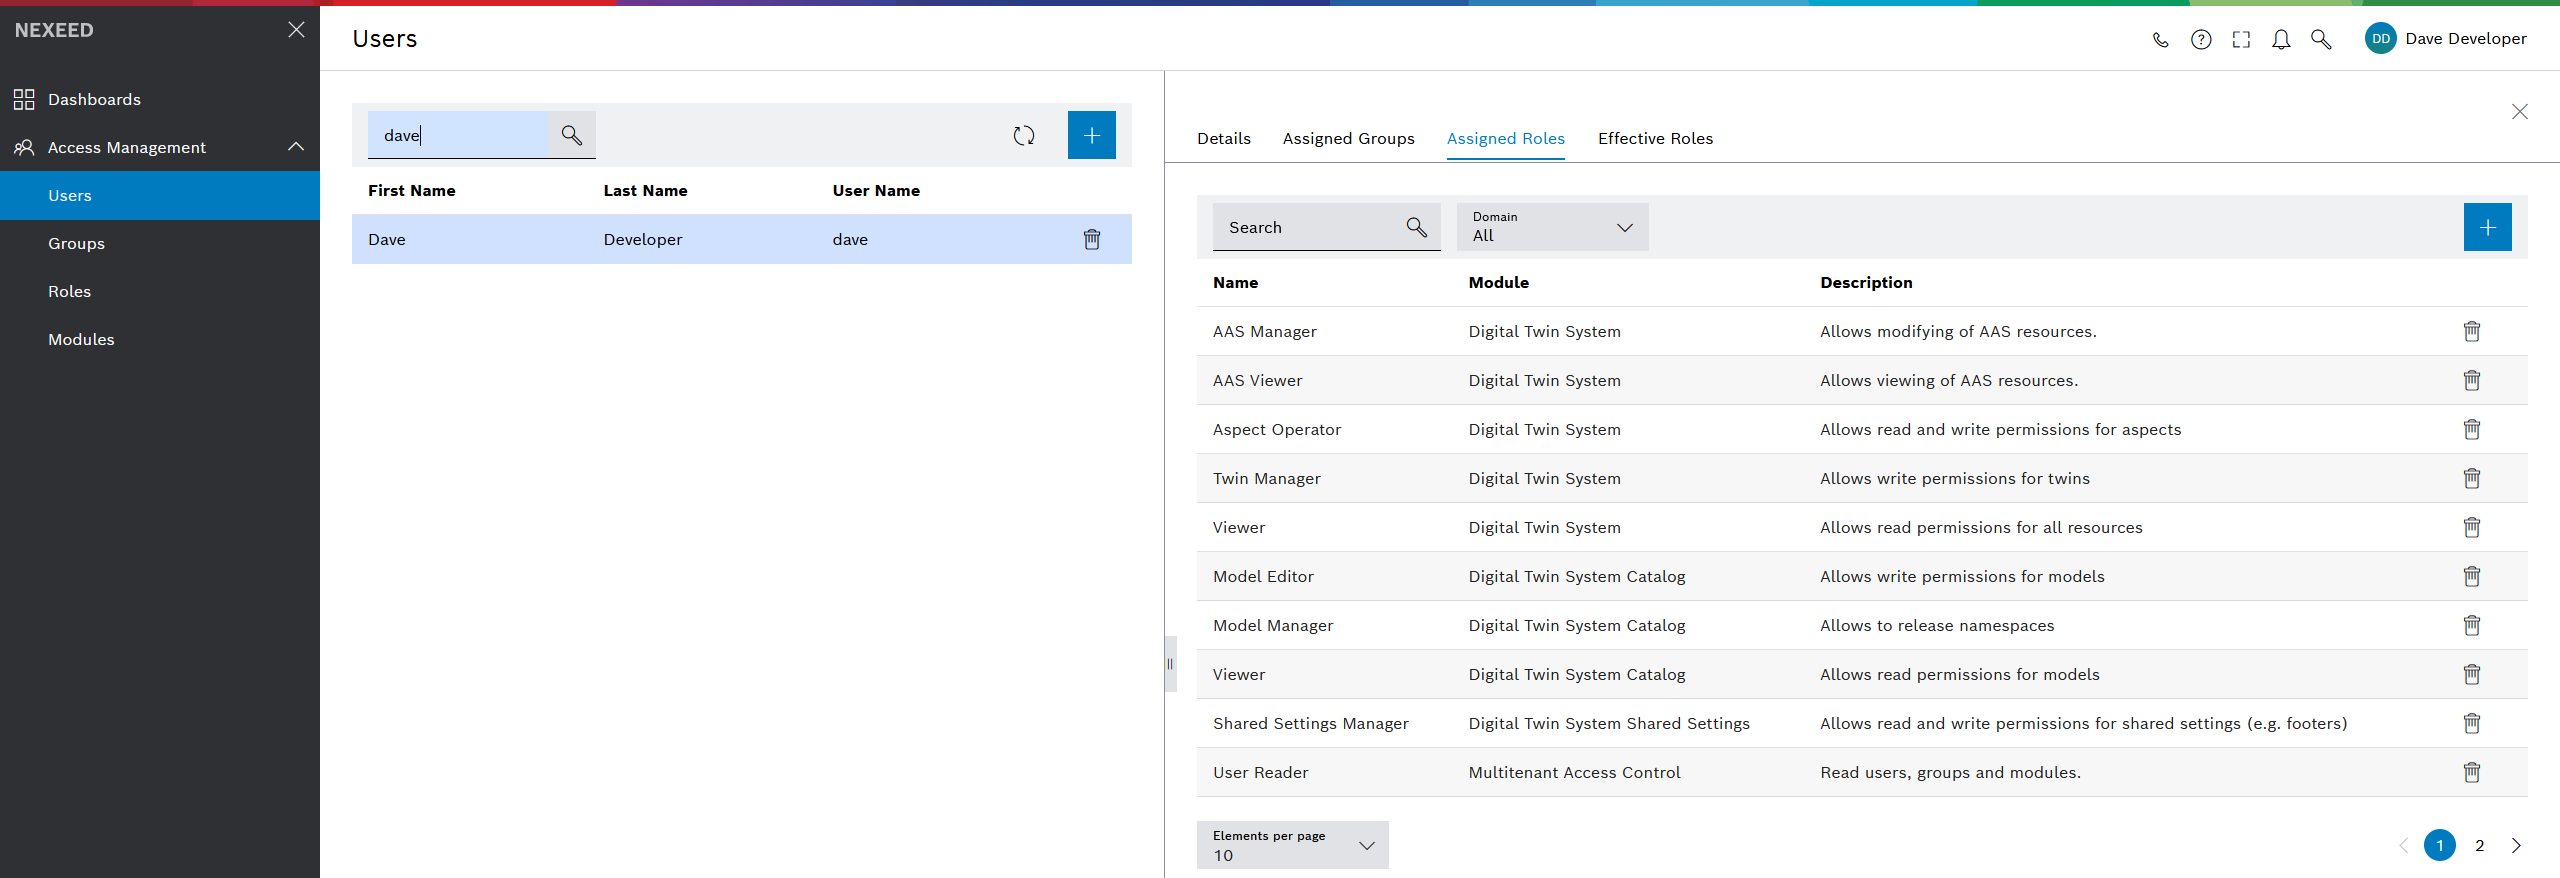
Add the role AAS Viewer to the EDC module
For read access though EDC you need to add the role AAS Viewer.
Create credentials for your data provider service
In case your own tenant has an application which needs full permission on your own registry, create a separate client and secret, and grant it the role AAS Manager.
Test whether the token is created with valid entries
To check your work, request a token:
  curl -X POST
  https://portal.bosch-nexeed.com/iam/access-management/v1/tenants/<your-tenantId>/openid-connect/token
  -H 'Content-Type: application/x-www-form-urlencoded'
  -H 'cache-control: no-cache'
  -d 'grant_type=client_credentials&client_id=<your-client-id>&client_secret=<your-client-secret>&scope=aud:<target-client-id>'
Inspect the token.
You can use, for example, https://jwt.io/.
The decoded part, the OAuth token should show the role following the pattern:
`urn:macma-application-role:<tenant-id>:<client-id>:AAS_MANAGER'
`urn:macma-application-role:<tenant-id>:<client-id>:AAS_VIEWER'